
You can get Daz3D for free from here: https://www.daz3d.com/get_studio
Buy Michael 6 Pro Bundle in the Content Marketplace: http://www.daz3d.com/michael-6-pro-bundle
You can get the regular version of Unity here: http://unity3d.com/unity/download
You can get iClone here: http://www.reallusion.com/iclone/
And 3DExchange is here: http://www.reallusion.com/iclone/3dx/
OK, so these notes start with Daz3D where you've created your character (we've used Michael 6 with Newport shoes, pants and sweater, blue eyes and MicahHairG2M).

Click "File > Export".

Choose a location for the exported model and name it (make sure the file type is "Autodesk FBX (*.fbx)".

Make sure the following items are selected (there have been no animations applied to the model in this case, but if there are then make sure that "Animations" is selected):
- Figures
- Props
- Morphs
- Embed Textures
- Merge Clothing into Figure Skeleton
- Allow Degraded Skinning
- Allow Degraded Scaling
Then click "Accept".
Note: Make sure that "Convert Clothing to Static Geometry" is NOT selected. This option was selected by default in my installation. If this option is selected and you animate the model, then only the Michael (or whichever model you are using) character moves; the clothes stay exactly where they were when you exported them. This results in some very amusing, if not frustrating, problems.
You'll see a progress bar as the model is exported. The bar disappears when the export is complete.

Now go to Unity and go to the "Project" view. I have a folder called "Models" (or Model for some odd reason in this screenshot!) where I store all the models I import just to keep everything neat.

Open an Explorer Window, browse to the location the model was exported to, and then just drag and drop the FBX file into the Model folder in Unity. You will see a progress bar in Unity while it imports your model.

Don't worry if you see anything like this message:
It's just Unity warning you that it found too many meshes and has corrected the issue for you. Unity is awesome like that.
OK, so now the model is in the "Models" folder, but DON'T ADD IT YET! You have to edit the model first so that Unity knows how to treat it. I keep forgetting about this, then wonder why my models do crazy things when I apply Mecanim (like sink half way through the floor, or move 5 miles away in game space, or go into some bizarre bear-hug-like pose, etc., etc.). Anyway, enough of "helping you learn via my mistakes". :)
Click on the new model and then look at your "Inspector". You should see 3 buttons/tabs:
- Model
- Rig
- Animation
Click on "Rig" (you should be there already) and click on the drop-down list next to "Animation Type" and select "Humanoid" instead of "Generic".

Click "Apply".

You can click on the "Configure" button and make sure that the bones all line up (right thumb maps to right thumb, left leg maps to left leg, etc.) but the Daz3D models export so well that you won't need to do that.
If your character had no animations, or you chose not to export them from Daz3D, then click on the "Animations" tab and clear the check mark for "Import Animation" and click "Apply".

You'll see the "Hold On" status bar for a minute, so let Unity do its thing. Once the status bar goes away, you can add your model to your Unity Scene simply by dragging and dropping from the Project window into the Scene window.

I have a folder called "Controllers" that I put my Animation Controllers in. I created an Animation Controller called "Michael6_6" and it only contains an "Idle" state which maps to the "Idles" animation from the Unity 4 Macanim tutorial (the tutorial is here: http://youtu.be/Xx21y9eJq1U, and the assets (which include the animations) can be downloaded from here: http://files.unity3d.com/will/MecanimTute.zip).
Click on the instance of your model in the "Hierarchy" pane, then drag and drop the controller into the "Controller" slot of your model.

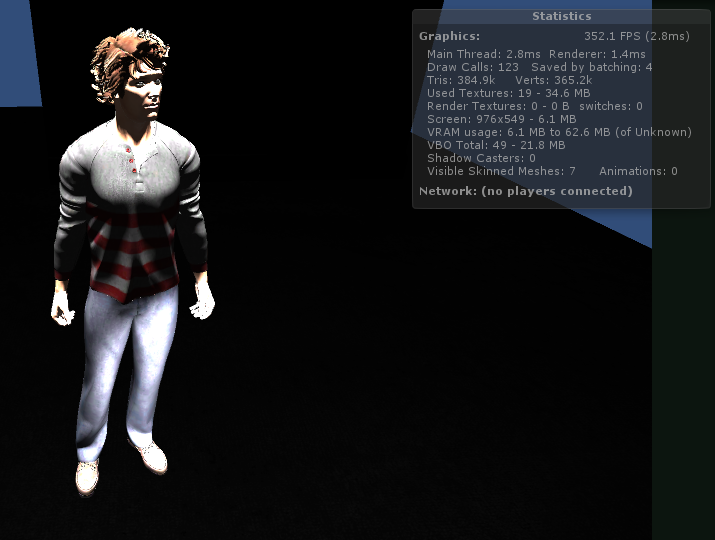
My scene is badly lit as I'm testing some light effects, so don't be put off by how my model looks in this screenshot. Here is our character again and he's in a brand new scene with only a floor plane and a directional light and you can see how much better he looks (also, the FPS is a lot higher).

So there you go, that's how to add a Daz3D character to Unity and use the Mecanim functionality (in Unity 4.x) to apply animation.
No comments:
Post a Comment